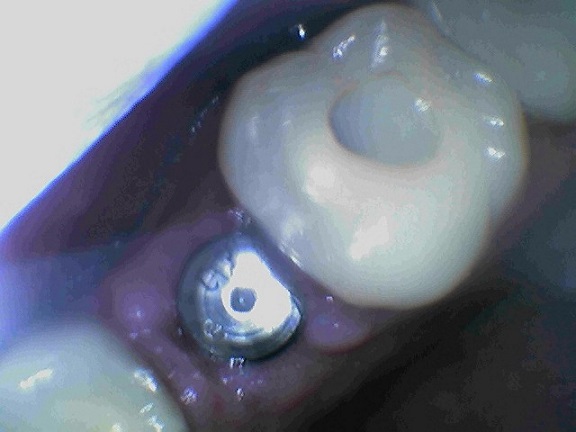
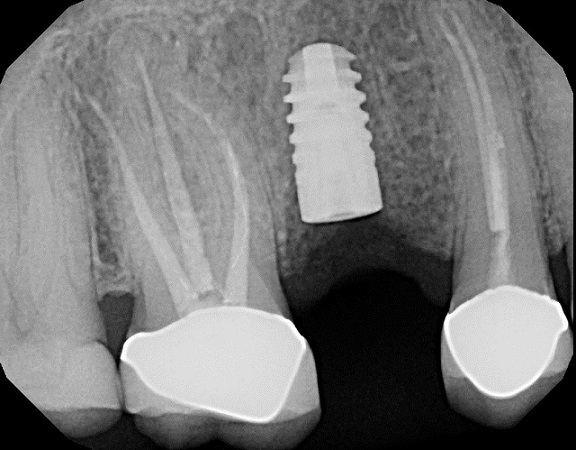
Part 2 of 3 discusses the implant placement itself.
Our first blog post ended with the patient wearing a removable partial device while the extraction site healed.
After the extraction site had time to heal, including time to integrate the bone graph material to improve bone structure, the implant was placed and given time to integrate with the jawbone.

The patient wears what is called a healing abutment during this time and continues using the temporary flipper device.

After the bone and mouth heal appropriately (this time differs by tooth and by patient), the healing abutment is removed and replaced with the restoration abutment and restoration and bite registration impressions are taken for models. That will be the subject of the final blog post, coming soon.
Note: These blog posts are specific to a particular patient and tooth and are not meant to be generalized over the entire implant process for all patients or implant options. Your situation will likely be different.
